Expo makes it very easy to set a custom splash screen for your app.
If you are already working on your React Native project with Expo, then skip to step 2 of this tutorial.
1 — Set up an Expo roject
Make sure Expo is installed in your local machine by running the following in the terminal.
expo --version
If not then install Expo globally using the command line.
npm install -g expo-cli
Choose the default template when prompted.
Now start a new expo project with an app name of your choice.
expo init appName
2 — Make the changes inside your project
Open the app in your favorite editor. The folder structure should look like the below.


The actual splash screen is located in the assets folder under the name splash.png.
The splash.png image is served using the app.json file. Open this file.

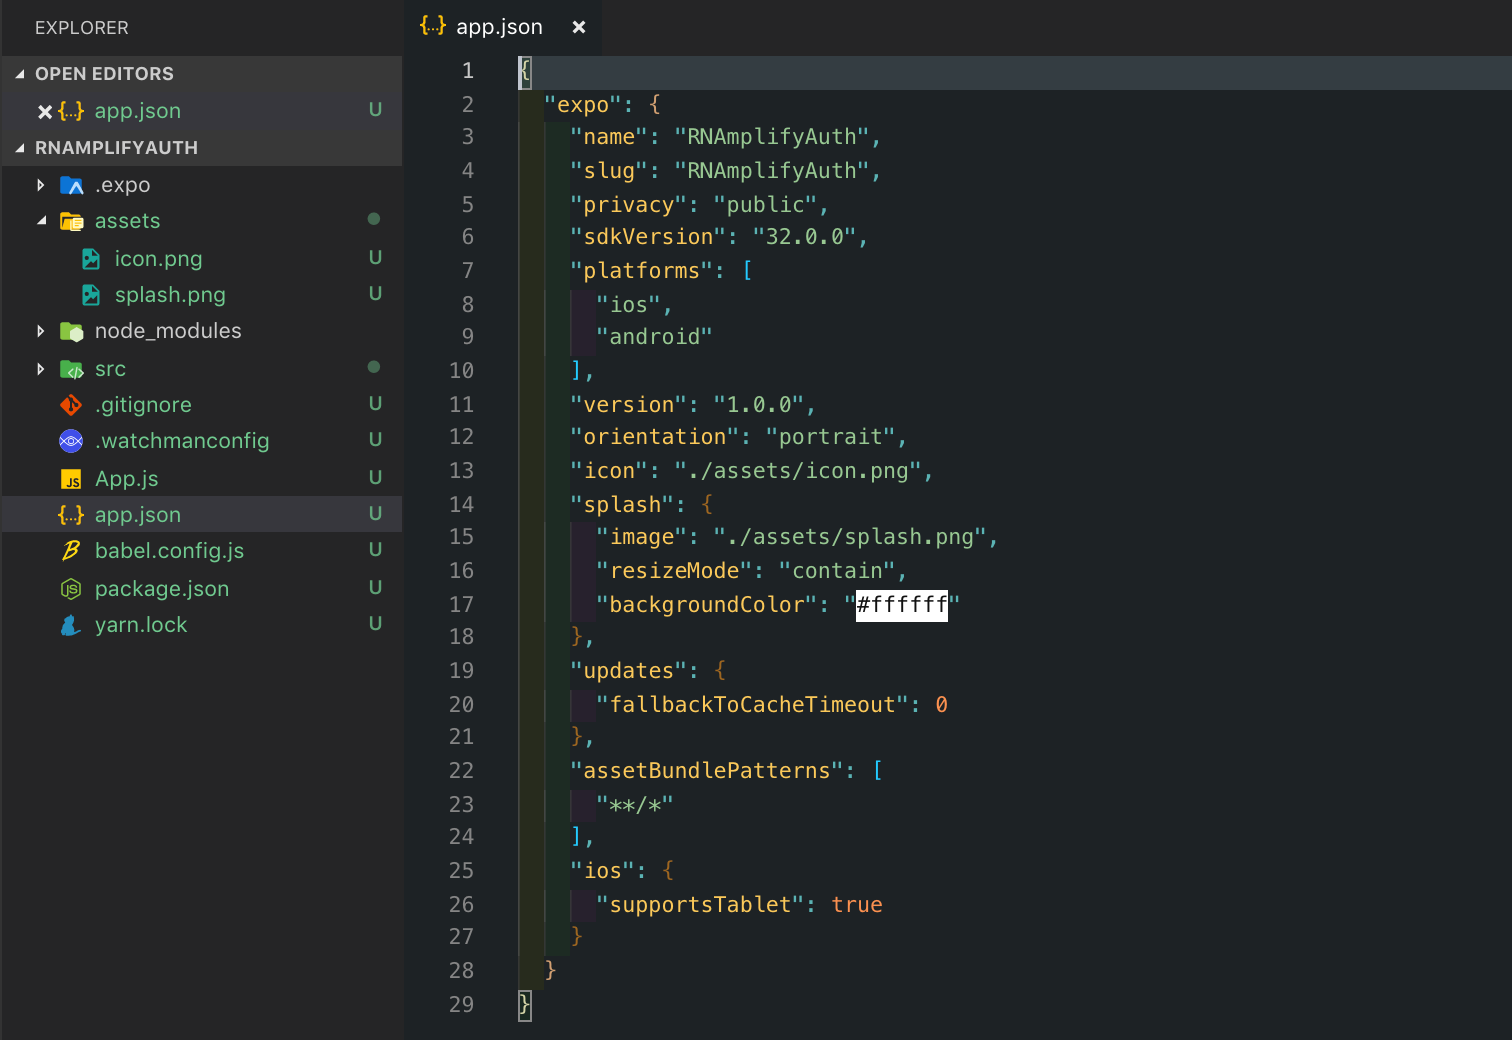
The splash object contains info about the location of the image, its resizeMode, and the backgroundColor. Here is a closer look at this object.
"splash": { "image": "./assets/splash.png", "resizeMode": "contain", "backgroundColor": "#ffffff"},
The goal here is to replace the default splash.png with our custom png image. Let us have a look at the below images.


The one at the left is the splash screen provided by Expo. It has a white background with a delimiter as the logo icon. To the right side is our custom image with a custom logo icon and a custom background color.
Remark
I used Adobe XD to make my custom image.png. Feel free to use the tool of your choice as this matter is out of the scope of this tutorial.
Give the name splash.png to your custom image and paste it into the assets directory.
When prompt if you want to replace the existing image say yes.
Now go to app.json and replace the backgroundColor with the same color you used for the custom background color on your splash.png.
"splash": { "image": "./assets/splash.png", "resizeMode": "contain", "backgroundColor": "#aa73b7"},
3 — Delete the cache from the simulator
Run your Expo app in the simulator.
expo start --ios# orexpo start --android
The Expo Dev Tool will automatically get opened in the browser.
If you go to the simulator and refresh the app, you still will see the default Expo splash screen. Why is that?
In order to see the changes, we must clear the cache from the simulator.
To clear the cache, you must follow these 3 steps (video provided):
- Delete the Expo app from your simulator
- Run the simulator again from the Expo Dev Tools in the browser.
- Refresh the app and you should see the new splash screen.