Its often useful to represent information in a map as key-value pairs. For instance, the location of certain landmarks or areas of impact can be represented in a map to provide an intuitive way to structure data.
What You Need
- Node.js
create-react-native-appcommand line tool
Setup
The following setup is for Android phones. If you use iPhone simulator or load the app in an iPhone you could skip to the code part.
Local Setup
- Once the application is created from the project folder open app.json

- Your
app.jsonlooks something like this - We are going to install
expocommand line tools
npm install -g expo
- Go to expo.io and create and account.
- From terminal
expo login
- You will be prompted to enter your username/email address and password.


- You should see a message like above.
- We are going to update our app.json with the following
{
   "expo": {
    "name": "Your App Name",
    "icon": "./path/to/your/app-icon.png",
    "version": "1.0.0",
    "slug": "your-app-slug",
    "sdkVersion": "XX.0.0",
    "ios": {
      "bundleIdentifier": "com.yourcompany.yourappname"
    },
    "android": {
      "package": "com.yourcompany.yourappname"
    }
   }
 }
- The iOS
bundleIdentifierand Androidpackagefields use reverse DNS notation, but don’t have to be related to a domain. Replace"com.yourcompany.yourappname"with whatever makes sense for your app. - You’re probably not surprised that
name,iconandversionare required. slugis the url name that your app’s JavaScript is published to. For example:expo.io/@community/native-component-list, wherecommunityis my username andnative-component-listis the slug.- The
sdkVersiontells Expo what Expo runtime version to use, which corresponds to a React Native version. Although"XX.0.0"is listed in the example, you already have ansdkVersionin your app.json and should not change it except when you want to update to a new version of Expo.
With all the info my app.json is the following.
{
   "expo": {
    "name": "map-cuny",
    "icon": "./assets/icon.png",
    "version": "1.0.0",
    "slug": "map-cuny",
    "sdkVersion": "26.0.0",
    "ios": {
      "bundleIdentifier": "com.codingmechanic.mapcuny"
    },
    "android": {
      "package": "com.codingmechanic.mapcuny"
    }
   }
 }
- Once the app.json is all set we can then build the android standalone app from terminal.
expo build:android
This will take a few minutes. Get some coffee in the mean time.
- Once the Build is completed run
expo fetch:android:keystore
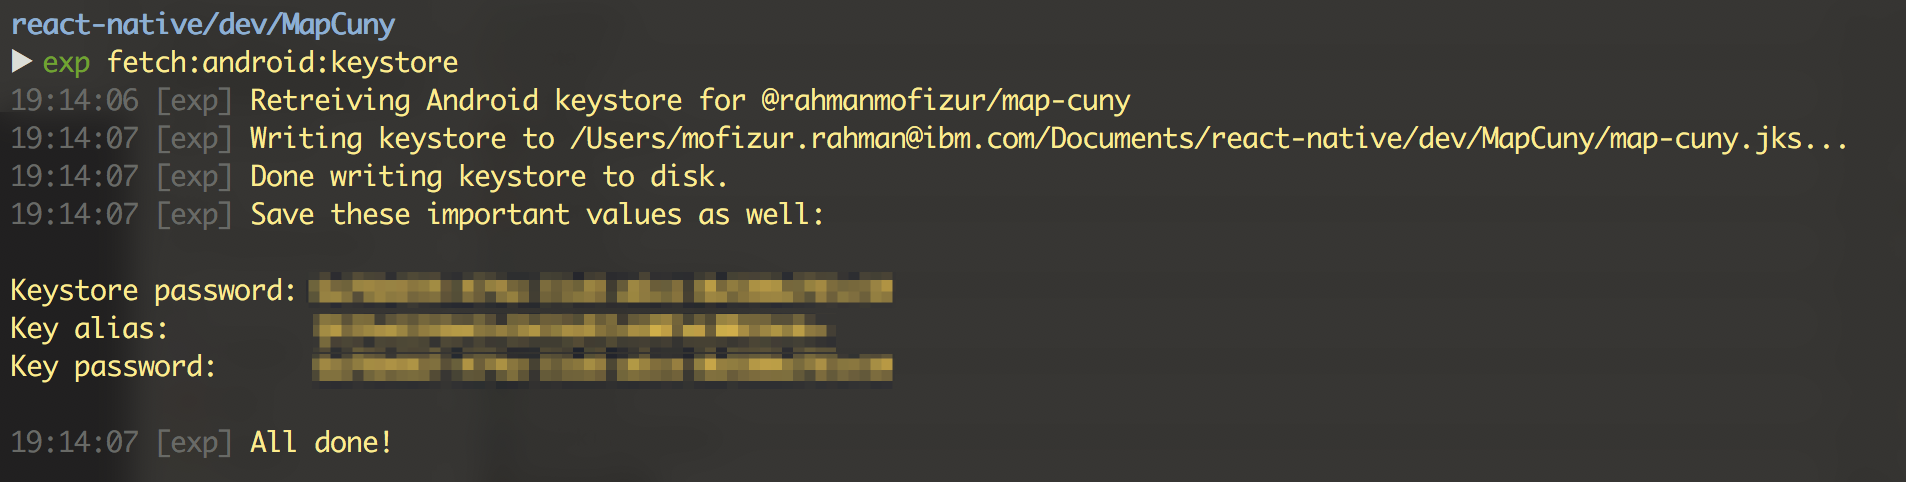
- This would generate the map-cuny.jks file and return the
keystore password. We will need the key store password in a second. - Run
keytool -list -v -keystore map-cuny.jks. For your app replacemap-cuny.jkswith your .jks file. - If you enter the correct keystore password you should see something like this.
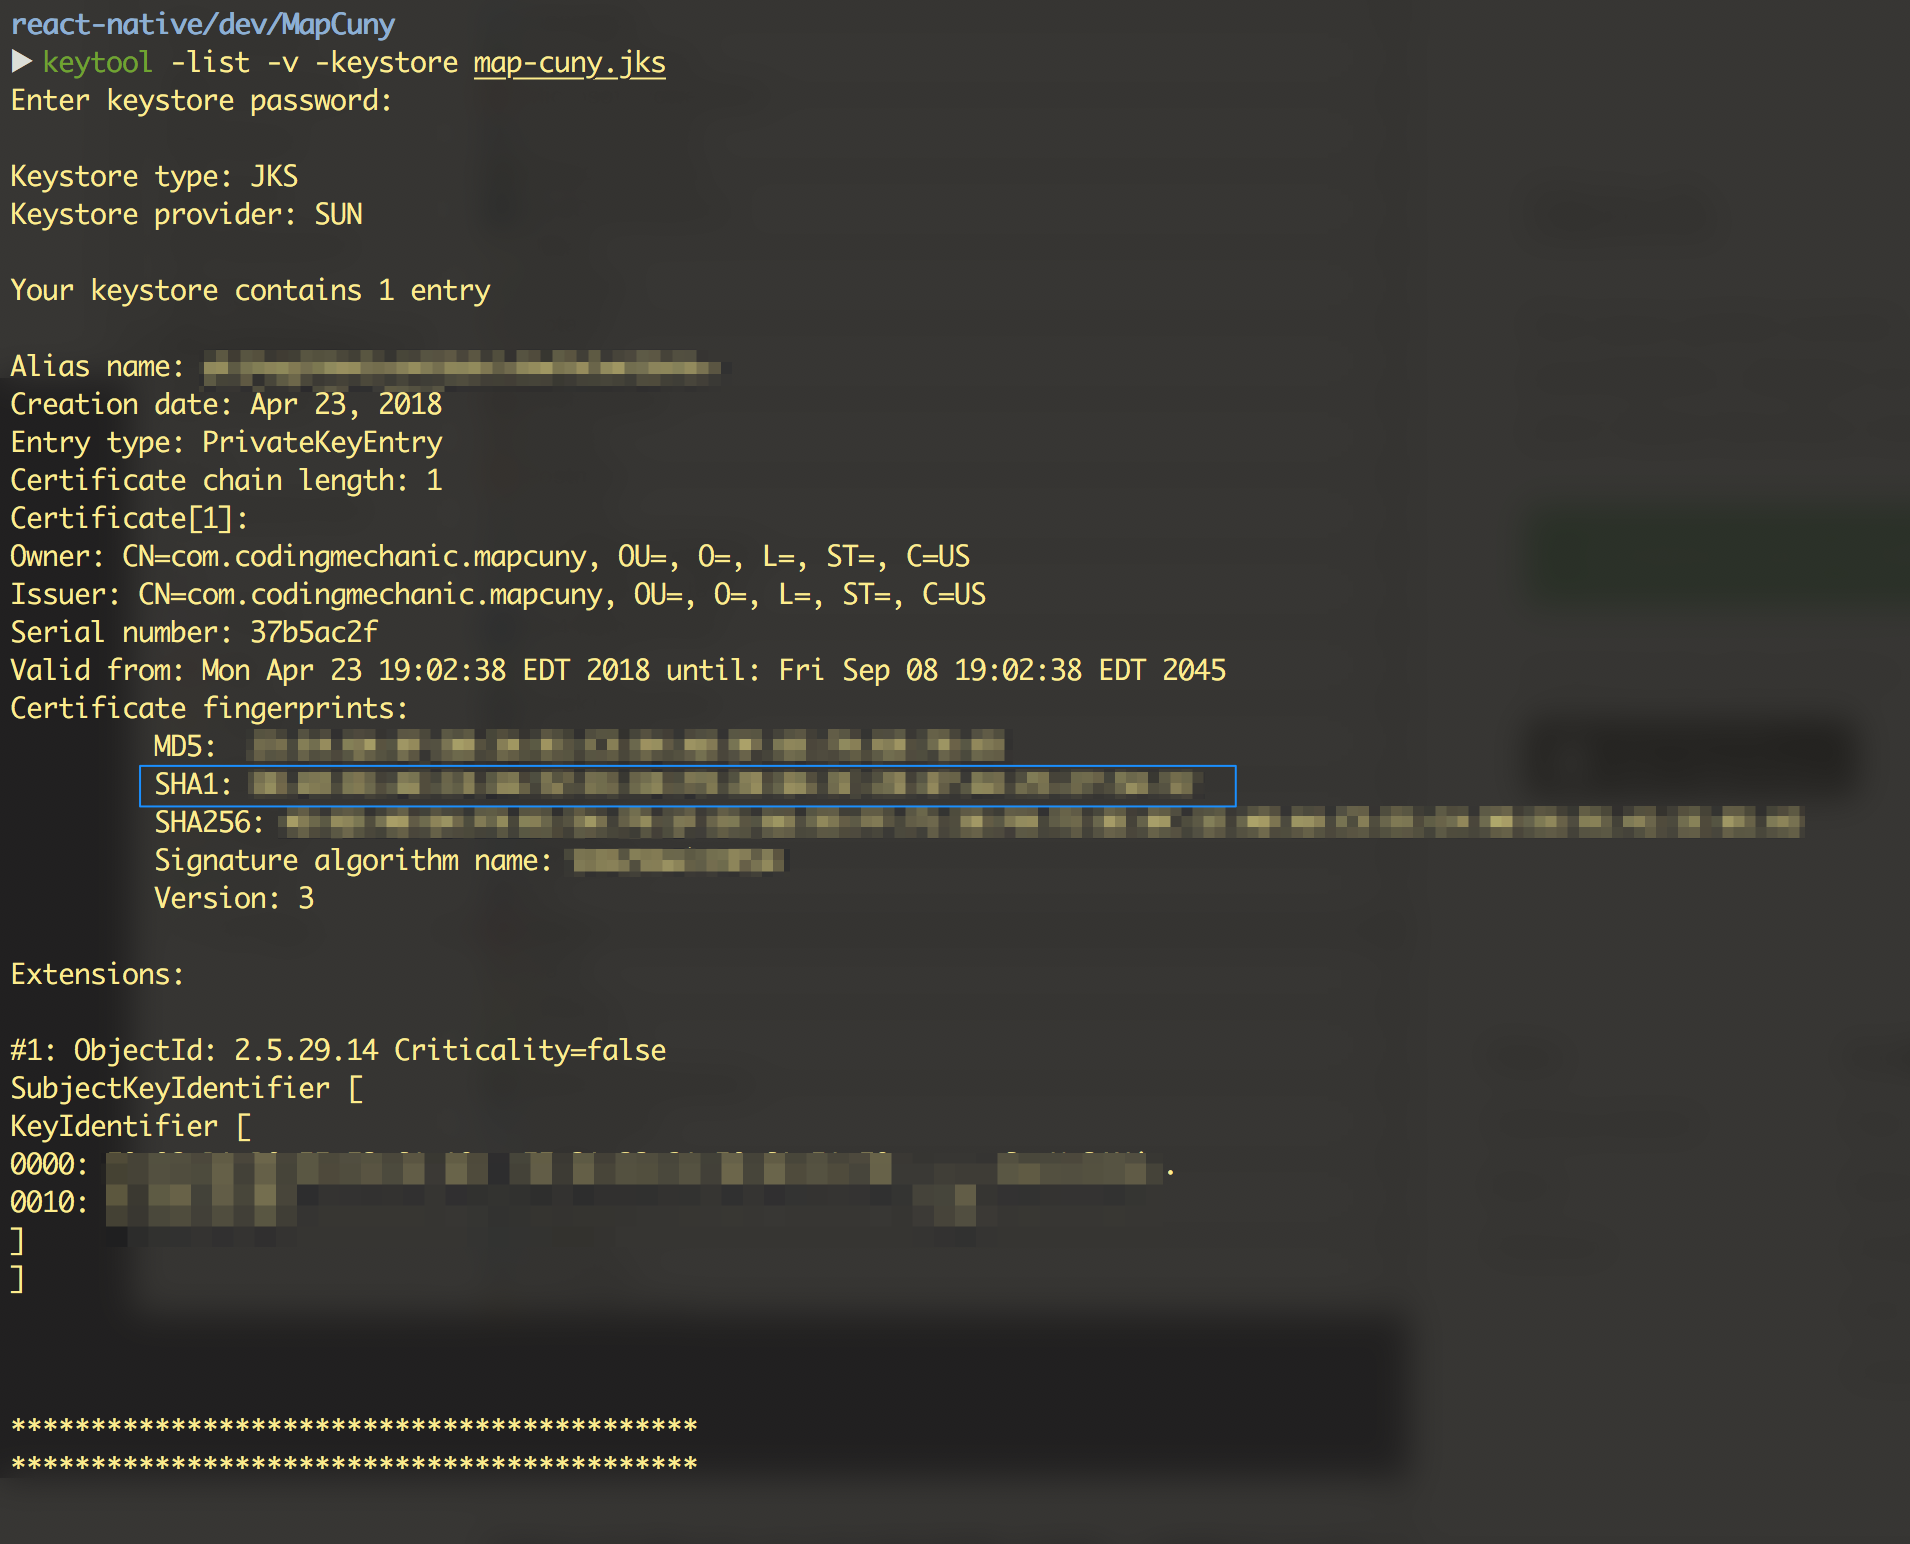
- What we are interested in is the
SHA1key. We will use that in Google Cloud Platform in a minute.
Google Cloud Platform Setup
- Log into Google Cloud Platform
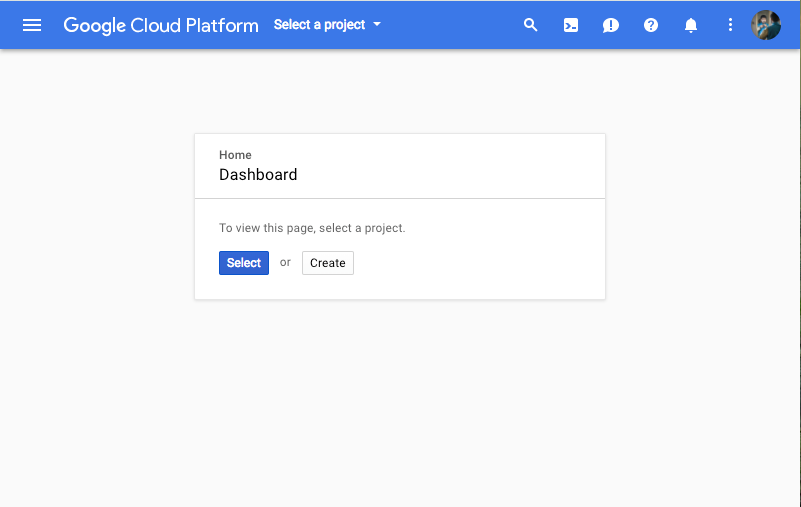
- Click on Create
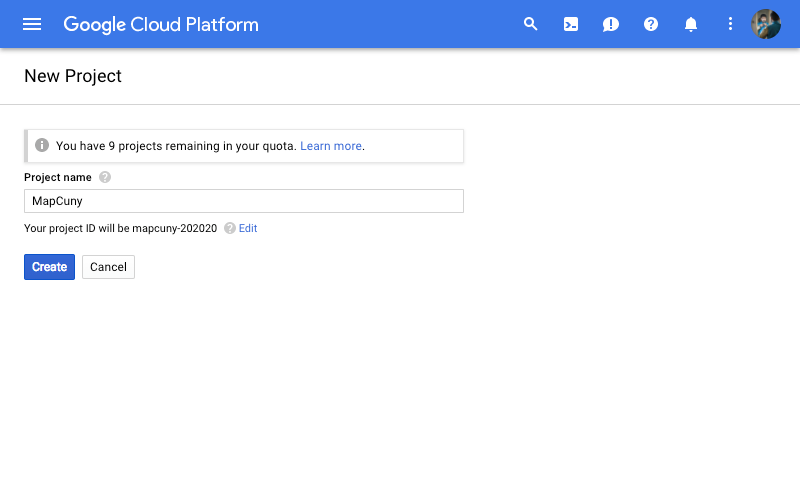
- Give your project a meaningful name
- Once created you should be taken to your app dashboard.

- Go to APIs and Services on the left side bar
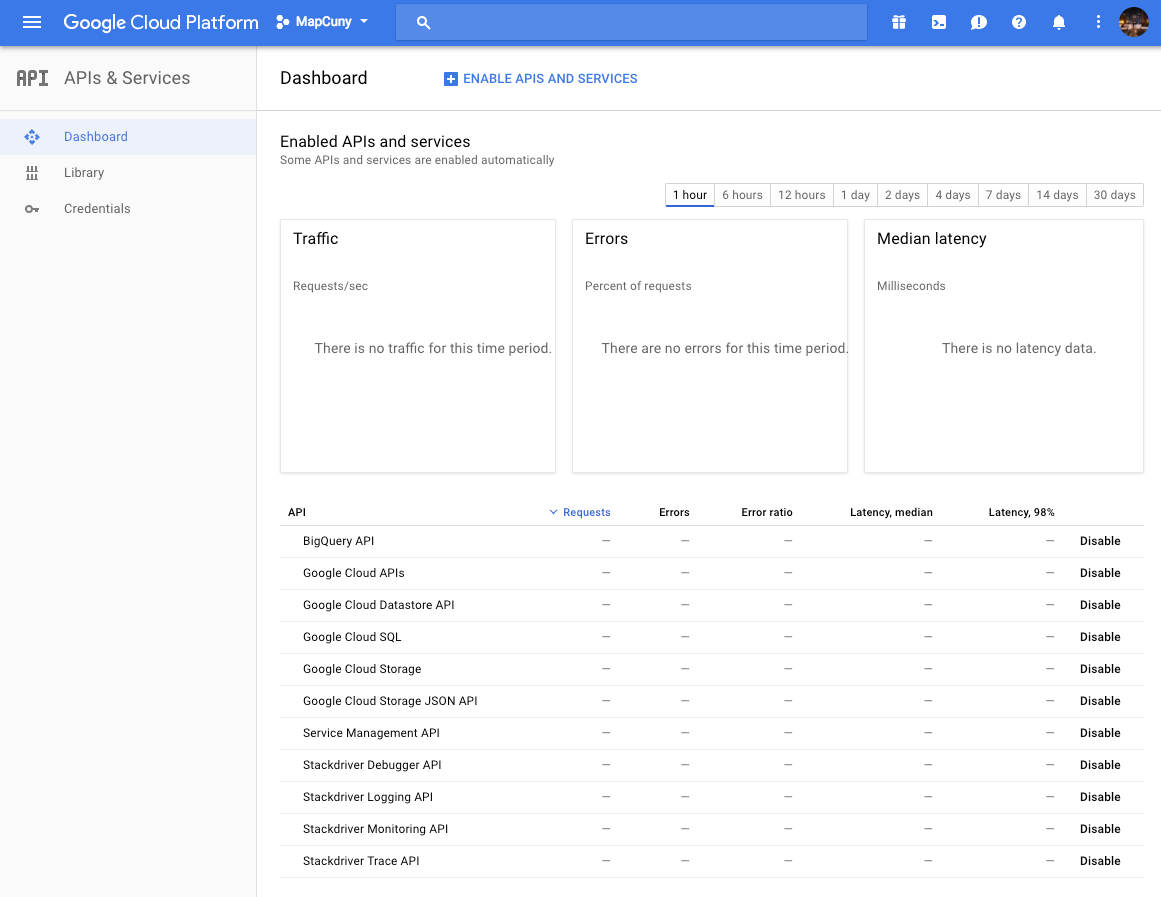
- Go to Library on the left side bar

- Select Google Maps Android API
(If the UI changes over the time and Google Maps Api is not on the screen, You can always search for the Api in the search bar)
- Enable Google Maps Android API
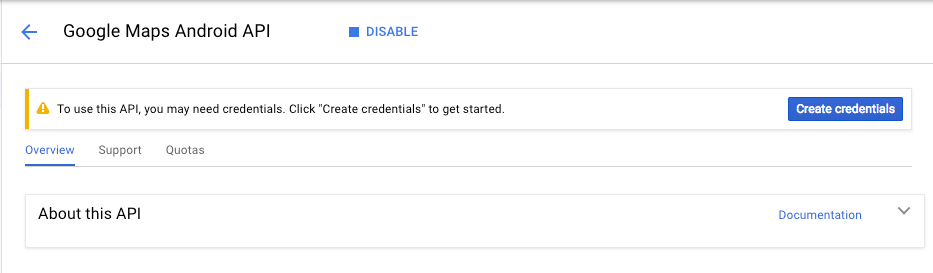
- The Warning basically asks us to “Create Credentials” for our app to be able to use google maps api.
- Click on Create Credentials.
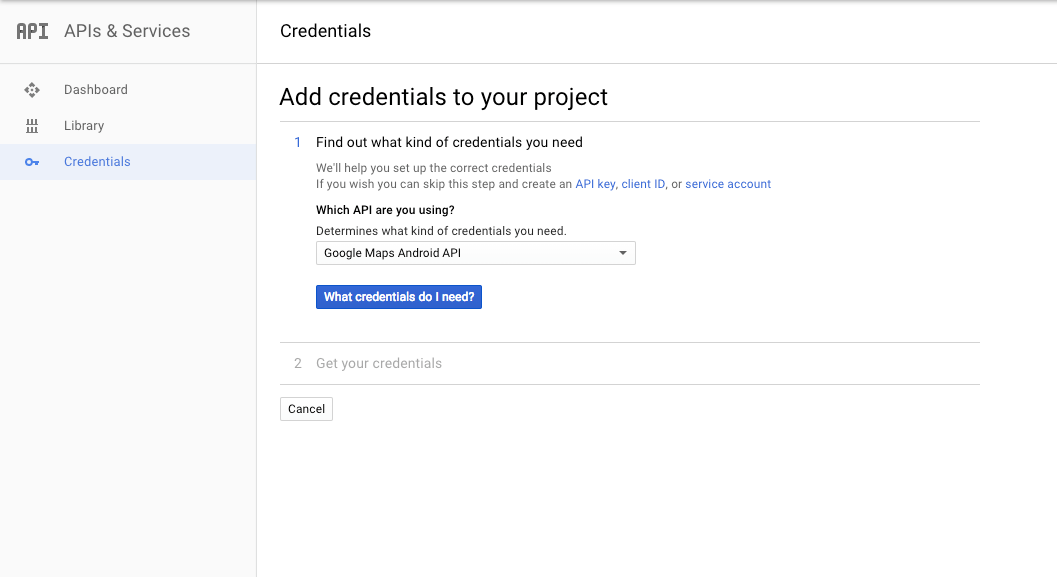
- Click on API Key

- In the API restrictions tab select
Google Maps Android API

- Click on create. Copy the api key that was generated.
- Go Back to app.json
"android": {
   "package": "com.codingmechanic.mapcuny",
   "config": {
      "googleMaps": { "apiKey": "<Your API Key>" }
   }
}
- Add config to android
- Setup is complete
Code
Base Code
We are now ready to start coding. Just to see we have the setup right, we will just put a Map View in the screen. Update your App.js with the following
import React from "react";
import { StyleSheet, Text, View } from "react-native";
import { MapView } from "expo";export default class App extends React.Component {
  render() {
    return (
      <MapView
        style={{
          flex: 1
        }}
        initialRegion={{
          latitude: 37.78825,
          longitude: -122.4324,
          latitudeDelta: 0.0922,
          longitudeDelta: 0.0421
        }}
      />
    );
  }
}
In line 3 we are importing MapView from expo . This MapView is just a wrapper of the React Native Maps library by AirBnB. In Render we render the MapView with style flex:1 So that it takes the entire screen and give it an initial region. This location is of somewhere in SF.
I ran the app in my iPhone 7+ and One Plus 3 device. And as seen above the Map is rendered by Apple MapKit or Google Maps depending on the platform.
This is all fine and working but we would like to show something in this map. Some location info that will be most useful in a map form.
Data
For this demo I will use NYC Bike Data. This data is publicly available and does not require any authentication or token. For our purposes this is the easiest data to work with.
Getting Data
To get data we will be using fetch .
constructor(props) {
    super(props);

    this.state = {
      isLoading: true,
      markers: [],
    };
  }
- First we add a constructor above the Render function.
isLoadingflag is there to denote the end of fetching.- We will store the bike stop locations in the
markersarray. - Create a method called
fetchMarkerData()and add the following code
fetchMarkerData() {
    fetch('https://feeds.citibikenyc.com/stations/stations.json')
      .then((response) => response.json())
      .then((responseJson) => {
        this.setState({
          isLoading: false,
          markers: responseJson.stationBeanList,
        });
      })
      .catch((error) => {
        console.log(error);
      });
  }
- We now call the
fetchMarkerData()from life cycle methodcomponentDidMount()(More about life cycle methods on here) - Life Cycle methods are not react native specific and come from
react.js - We add the code
componentDidMount() {
    this.fetchMarkerData();
}
- Now when the component mounts the
fetchMarkerDatawill be called and when data is received from the api we will update our state - Now its time to render all the markers
<MapView
    style={{ flex: 1 }}
    region={{
      latitude: 40.76727216,
      longitude: -73.99392888,
      latitudeDelta: 0.0922,
      longitudeDelta: 0.0421,
    }}
>
        {this.state.isLoading ? null : this.state.markers.map((marker, index) => {
     const coords = {
         latitude: marker.latitude,
         longitude: marker.longitude,
     };

     const metadata = `Status: ${marker.statusValue}`;

     return (
         <MapView.Marker
            key={index}
            coordinate={coords}
            title={marker.stationName}
            description={metadata}
         />
     );
  })}
</MapView>
- What is happening is we are checking if the
isLoadingflag is true. If so we are returning null else we are mapping over all the marker datas stored in our state and returning aMarkerobject for each marker in the array. - We can then run the app the same way for Android and iPhone
- The
App.jscode is available in this Github gist.
Google Maps on iOS
You may want to use google maps on you iOS app as well. There are a few benefits from using google maps. They have more data on places outside the US. So if you app targets a global audience google maps may be the better option.
- Go to Google Cloud Platform Dashboard and select your project. (It generally opens to the last open project anyway)
- Go to
APIs and Services - Go to
Library - Select
Google Maps SDK for iOS Enable- Go to
Credentials Create CredentialsAPI Credentials- Click on
Restrict Key - Select
iOS Applicationon Application Restrictions - Select
Google Maps SDK for iOSon API Restriction - Enter you Bundler ID for iOS app from
app.json - Save and Copy the
api key - In
app.jsonaddgoogleMapsApiKey
"ios": {
  "bundleIdentifier": "com.codingmechanic.mapcuny",
  "config": {
    "googleMapsApiKey": "YOUR IOS API KEY HERE"
  }
},
- In
App.jsin theMapViewpass a new prop calledproviderand set it to
"google"
<MapView
    style={{ flex: 1 }}
    provider="google"
    region={{
          latitude: 40.76727216,
          longitude: -73.99392888,
          latitudeDelta: 0.0922,
          longitudeDelta: 0.0421
    }}
>
Further Readings
- MapView Expo
- MapView Docs
- The code for this demo is available in this Git Repo
- The project is available to view in this Expo repo. (iOS wont allow you to open someone else’s project in your device. But if you have an Android you could use Expo Client to test the app out in your phone. You can always run the app on the web)