Do you need custom fonts for your React Native app? Here you go, follow a few steps, and you will be ready to use your new font.
We will be making use of Montserrat font to import as the custom font in our app Git Link: https://github.com/JulietaUla/Montserrat/tree/master/fonts/ttf
Step 1: Download the font file that you need. For example, I am using the “Montserrat-Regular.tff” file.
Step 2: If you wish, you can rename the file else, keep it the same and make sure it does not have any spaces in the name.
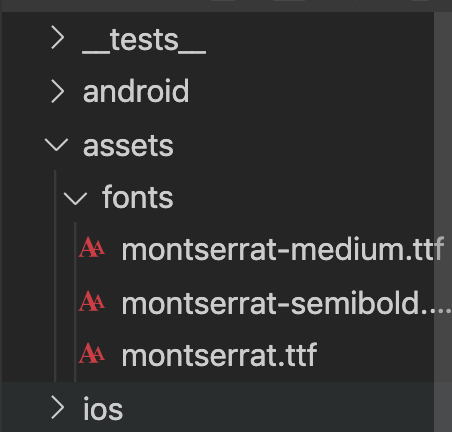
Step 3: Create an “assets/fonts” folder in the root folder of our app and copy the font file to that folder.
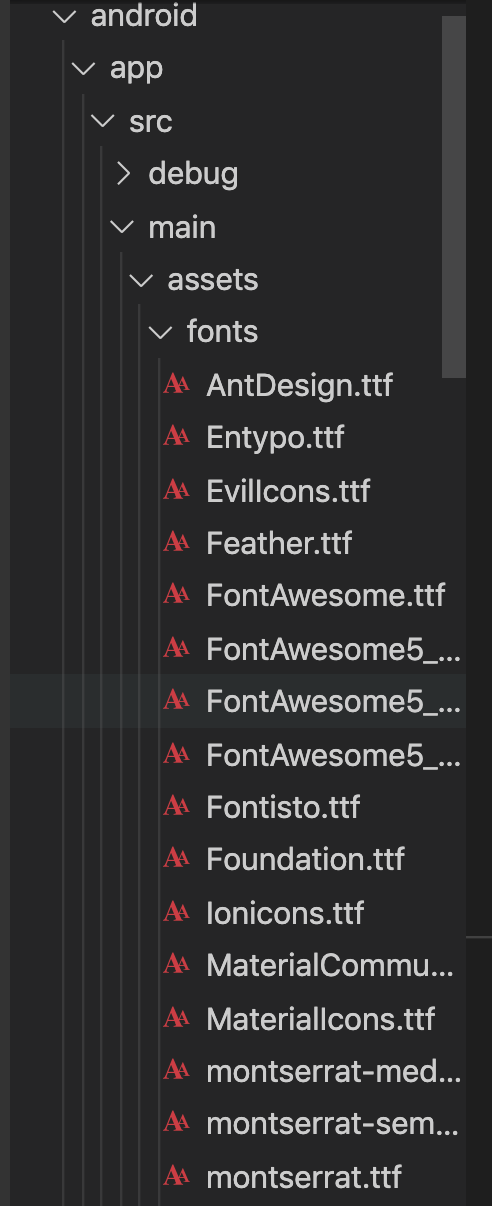
Step 4: Now run “react-native link.” This will copy the font to the app. For Android, it will be copied to the “android > app > src > main > assets > fonts” folder. For Ios, the font name will be added to the info.plist file in ios > your_app_name > Info.plist

Step 5: Now, use the same name given for the file name in the stylesheet.


Step 6: Deploy the app again by running the commands react-native run-ios (for Ios) and react-native run-android (For Android). You should see the font changes on the applied view.
I hope you were able to add custom fonts to your app.